If you come to a non-existent url, WordPress shows by default that the page cannot be found. Visitors are on your website and can still click on the menu and footer. But to get even more out of your 404 page (read this article), we are going to create it ourselves with Elementor.
Templates from Elementor for your 404 page
Elementor is a builder for WordPress. It has a library of templates to easily and quickly create your own 404 page. This feature is only available in the Pro version of Elementor and cannot be used with the free version.
404 page with Elementor template – video tutorial
How do you create 404 with Elementor? Step-by-step
Go to Templates – Theme builder
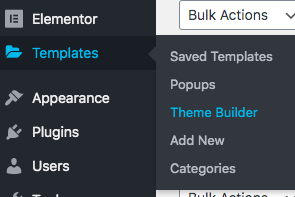
Click on “Add new”

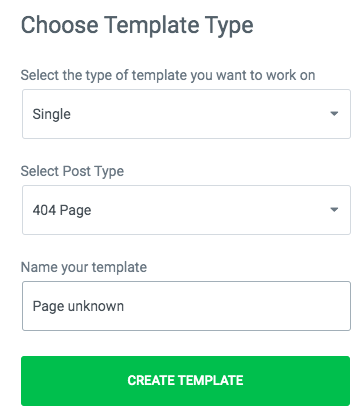
A screen opens where you have to choose which template you want to create.
First select the type of template you want to create. Choose “Single” here.
At Post Type you choose “404 page”.
Name your template. According to the Elementor website, you may not start the template with 404, otherwise it may conflict with urls. For example, call it “Page unknown”.
Click on the button “Create template”.
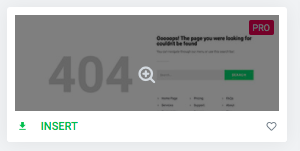
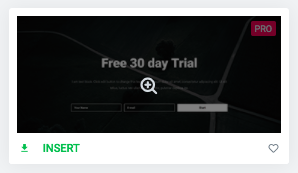
Choose a template from which you want to start and click on “insert”.
Now you can change this page. Put your own text, add your own urls, adjust a photo.
A search box provided on your 404 is definitely recommended. This is because you have ended up on the wrong page, and you can immediately continue searching within your site.
A list of frequently visited pages that people can click on is something you best anticipate.
How do you adjust it?
Click on the word.
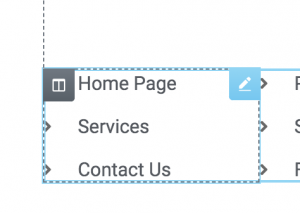
On the left side of your screen you will see these 3 menu items. Click on one to open.
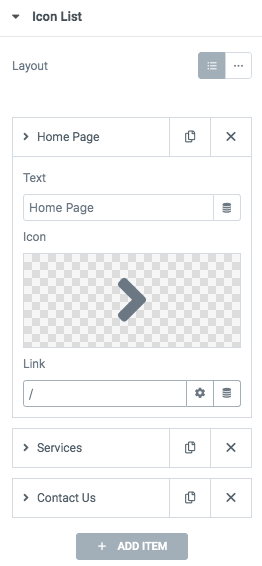
At text (see above), give your url a name. At “link” you enter the url to the page to which you want to lead your visitor. For the homepage, put a /
What you can also provide on this page is an optin form (sign up for the newsletter or even better give away a free ebook in exchange for an email address).
Click on the Folder icon. You will return to the library with 404 templates.

Click at the top where 404 is on the cross. So you remove the filter to see only 404 templates. From all the blocks that you now see, you can choose what you want on the page.

Select a block with the optin form here and click on “Insert”.
Once your page is ready, click on “Publish” at the bottom left.

Then also click on “Save & Close”.
View your 404 template
How do you know that your newly created 404 page also works?
Go to a page that doesn’t exist. You do that by typing in your url, followed by / and a string of characters. E.g.: www.onlinebusinessvibes.com/sfdsfsdfsd
On this page you see your newly created 404 page. Click on all links to test that they work. If all is okay, then you are done.
Did this tutorial help you? Please let us know in a comment at the bottom of this page. Looking for other Elementor Tutorials, you can find them here. Look here for our Elementor review. If you miss something, please let us know.
